So I finally got around to throwing the intake into the car...install went pretty well. Resonator bolts were the toughest part as I have big hands and couldn\'t get into some small spaces.
here is my write up in case anyone needs it in the future. I probably won\'t use exact tech terms as i\'m not super
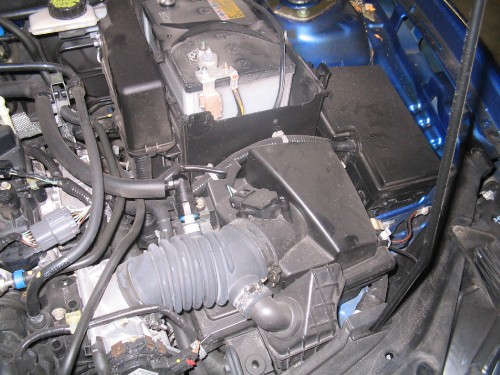
First I disconnected the battery. As you can see in the pic below you have to remove the 3 clamps holding the rubber tube from the throttle body to the stock airbox. Then disconnect the MAF sensor from the stock airbox. (Note: the wires from the MAFS connected to the new intake will be tight, and have caused CEL problems later on when the wires bend too much. I cut some of the plastic where the wires come out of and gave it a bit more slack to move.) Then Disconnect the Bpressure clamp thats connected to the rubber tube. It has a blue clamp inside that you will need later to match with the AEM intake.
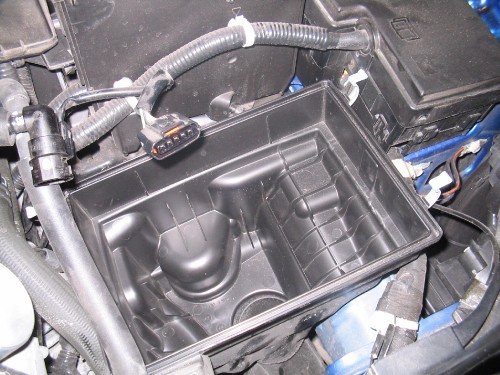
After a bit of a tug your airbox should lift out and you should be left with this...
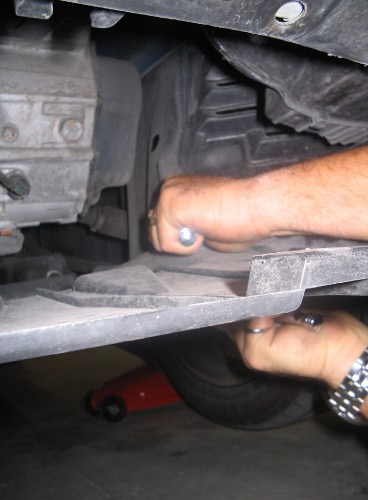
Now the way I found easiest was to Jack up the car...remove the drivers side wheel to get better access to the resonator bolts. Now before you get there you have to remove the 5 or 6 bolts from the apron under the front of the car, and another 3 bolts, plus some clips in the wheel well.
(removing the front apron)
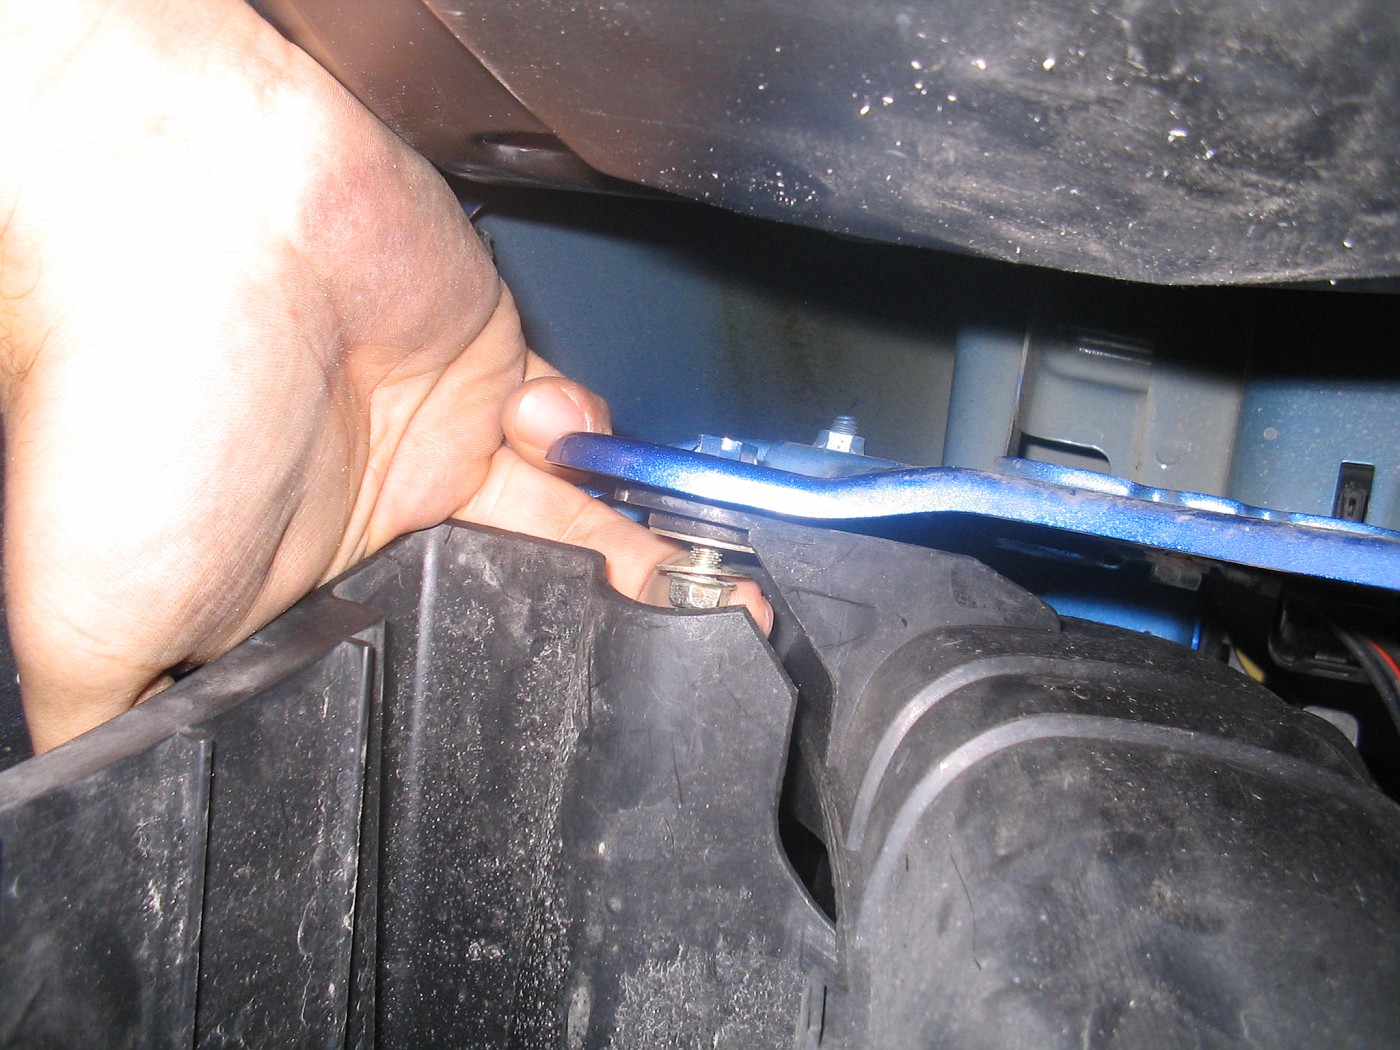
from there you will get to the hardest part of the install. Getting the 3 resonator bolts. Now the first two aren\'t that bad, but the third is hard if you have big hands.
bolt one is right in front of you if you are under the car...
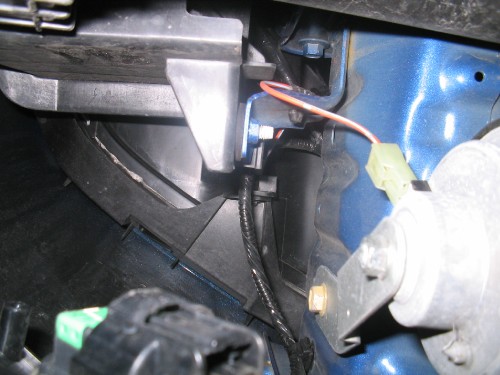
bolt 2 is to its left...
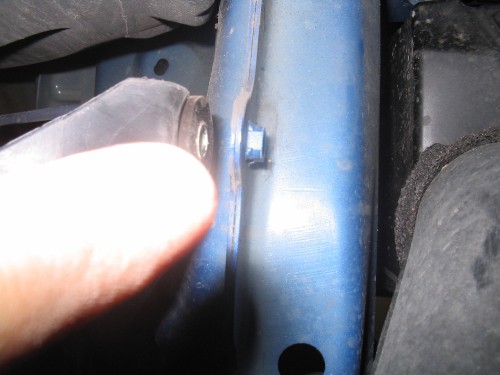
and bolt three is hidden behind that black piece of triangular plastic. Took me about 15 minutes just with that stupid bolt.
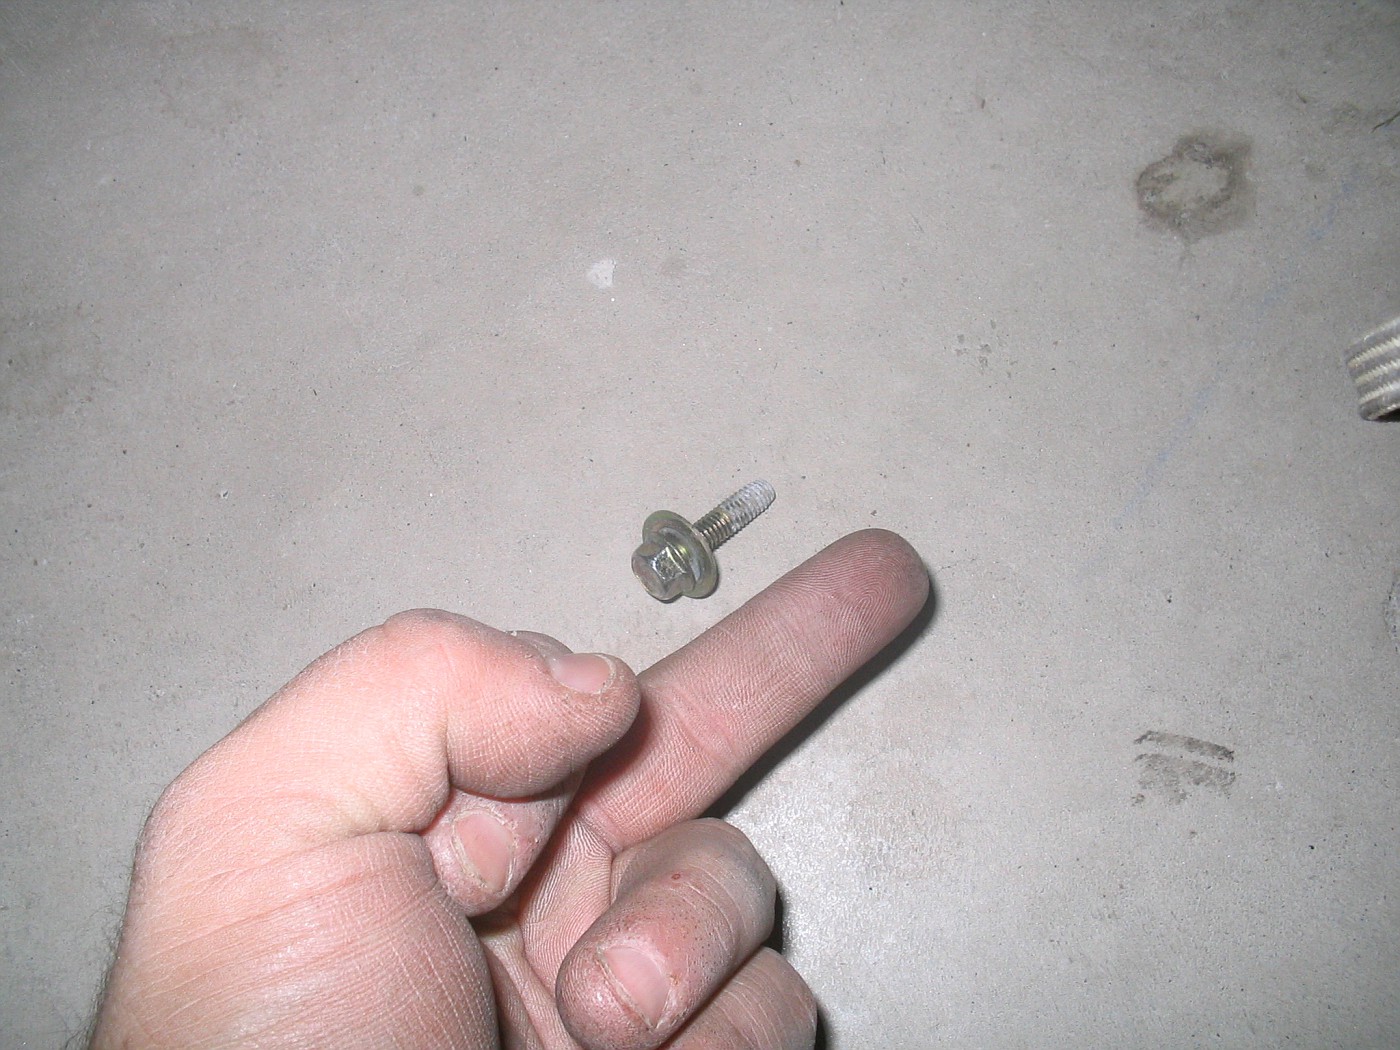
and here is the stupid bolt!
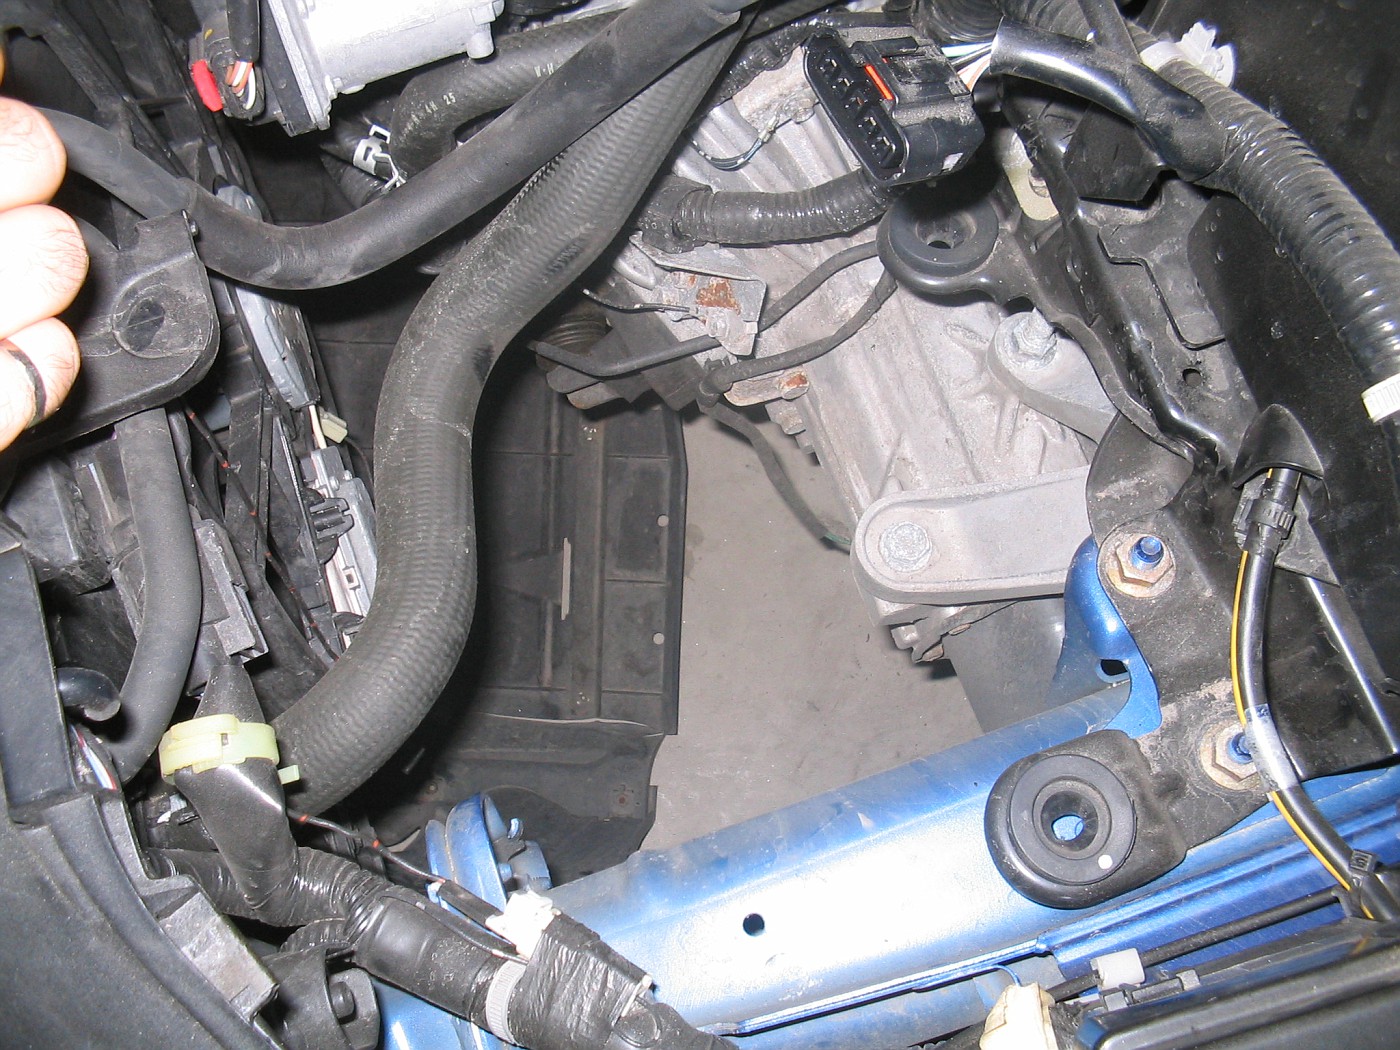
next a bit of shaking and the resonator should come out. this hole is what you should be looking at...
This is where it starts to get fun...
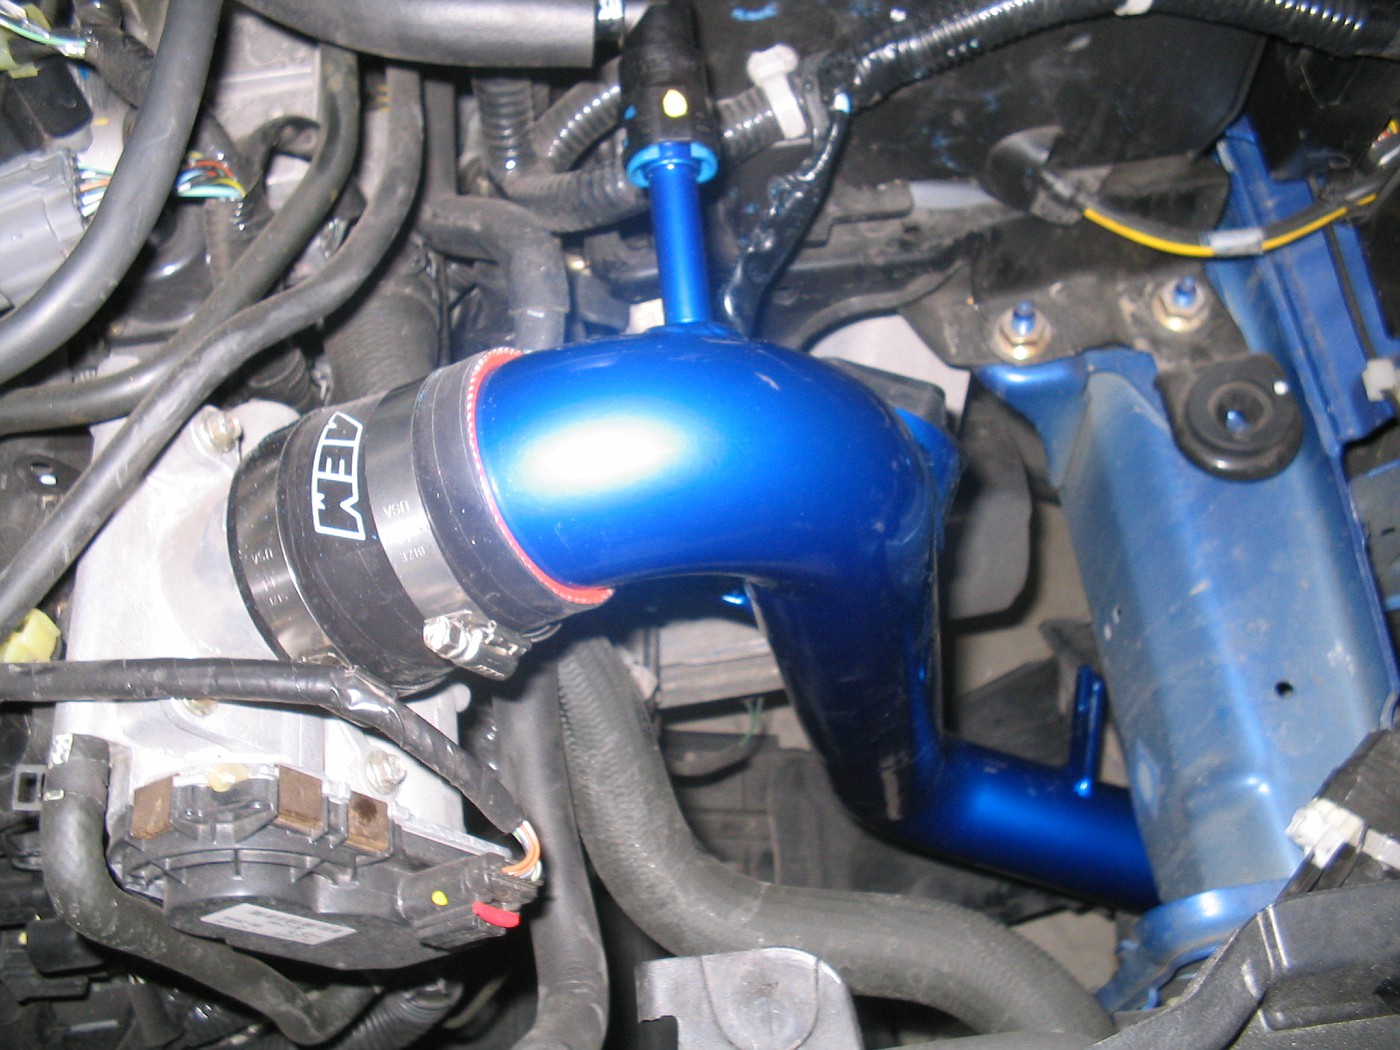
Attach the AEM intake to the throttle body with the two clamps provided. Re-attach the MAFS and Bpressure hoses. Now with the Bpressure hose the stock blue clip wouldn\'t fit over the AEM\'s \"nipple\" for lack of a better word. So I filed down both the intake\'s \"nipple\" and the blue clamp(very gently). After getting it to fit like a glove this is what you should be looking at.
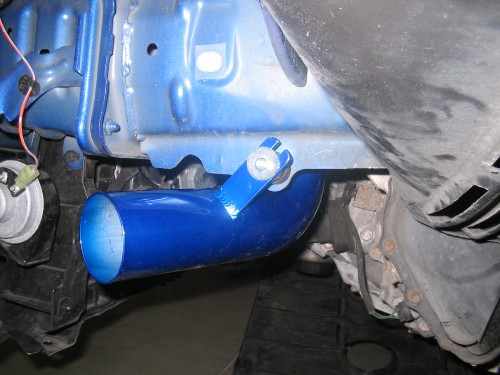
next attach bottom of the intake to where bolt#1 was I guess with the provided bolt and washer from AEM.
and
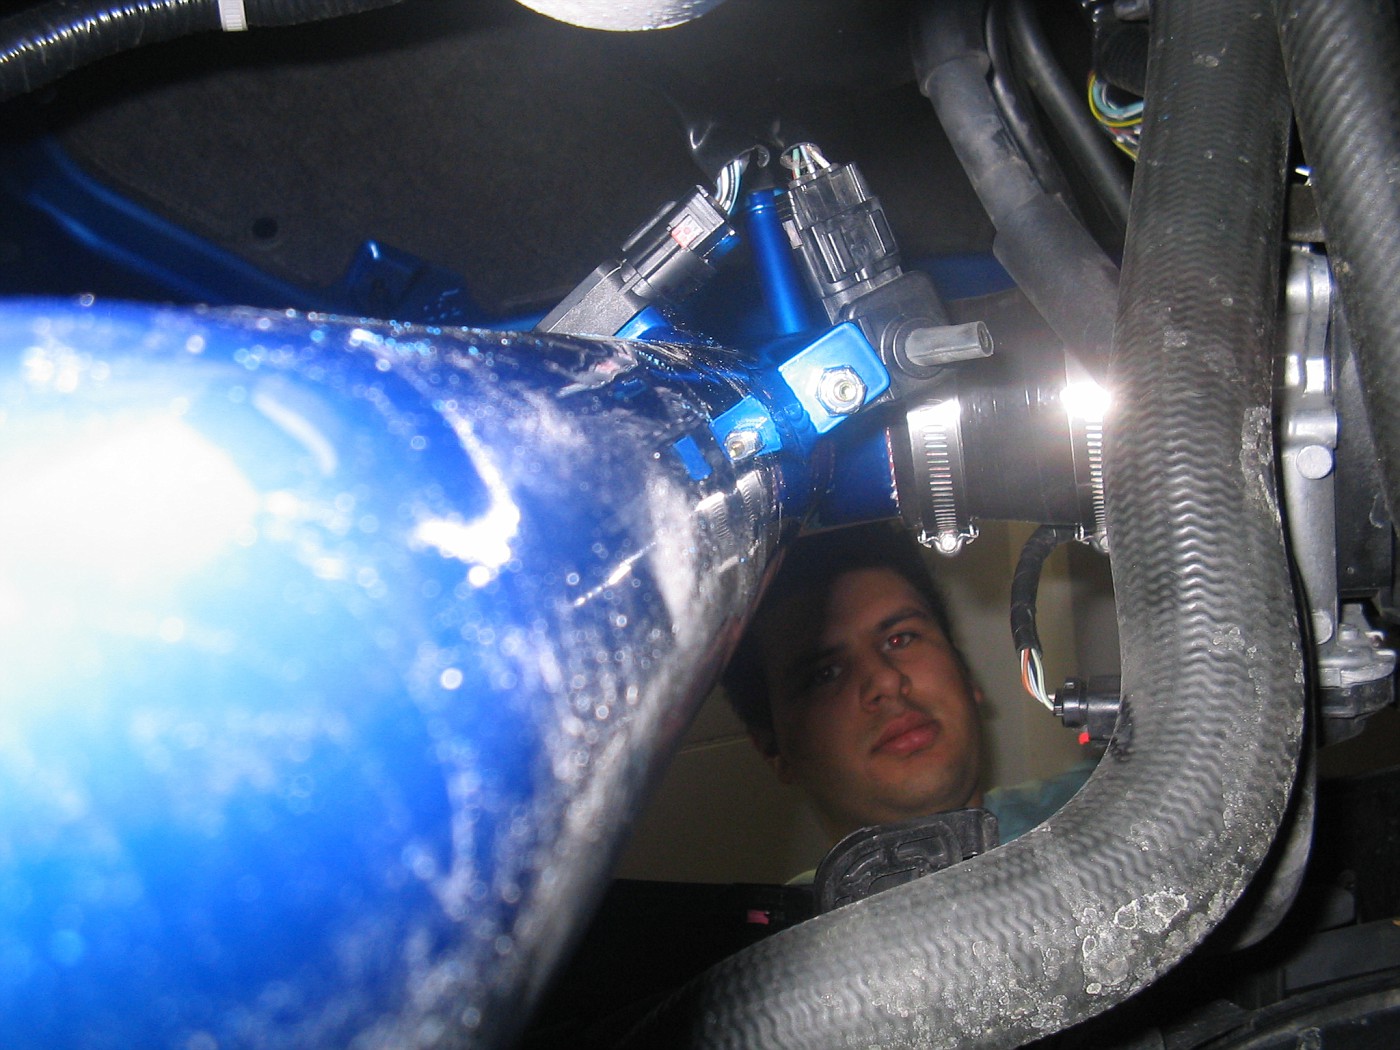
this is what should be attached at this point when looking from the bottom of the car upwards.
Attach the K&N filter to the intake and reverse all the steps and put back the apron , wheel well and tire and lower the car and you re off to go...
I love the deeper sound that the intake gives off from 2nd to 3rd gear when you\'re at 4k+ sounds very mean...in terms of HP I do notice some...but nothing big...maybe 2-3hp. I\'ll dyno it soon to give exact amounts. Anyways hope this helps some folks as I searched and couldn\'t come up with much...also the instructions that AEM provides are pretty detailed and straighforward.





 Reply With Quote
